

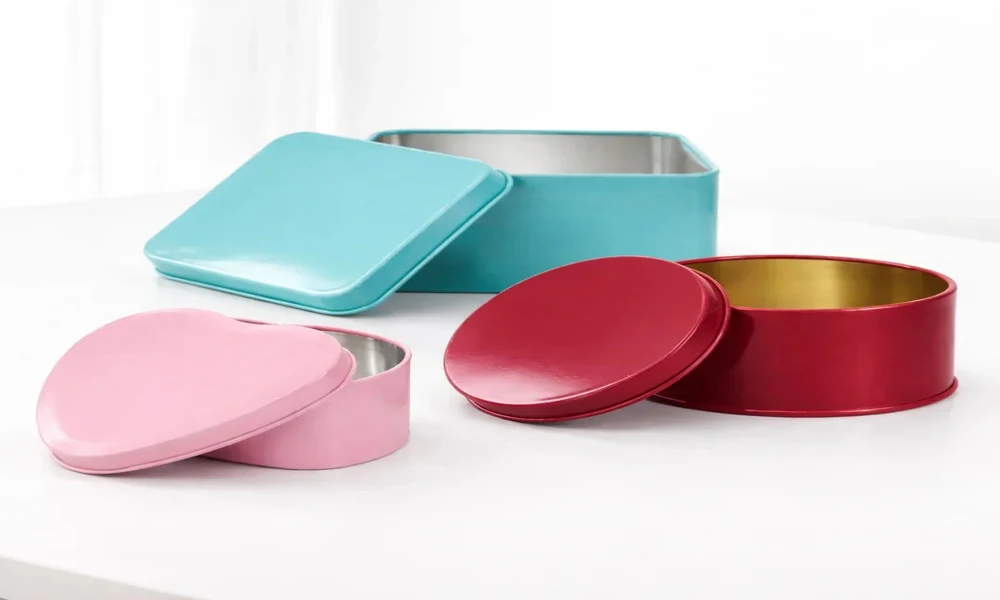
Custom tin packaging does not appear on store shelves by magic. It starts as a rough sketch on a screen. That idea gets refined, then turned into metal sheets. The sheets are printed, stamped, folded, and assembled by hand and machine. Every box gets checked for flaws before it ships. It is a real journey from concept to something solid in your hands.
Step 1: The Design Phase
Everything starts with an idea. A designer sketches the box shape, dimensions, and artwork. This is where packaging design matters most. The design has to look good, but it also has to be practical. A box that is too complicated to stamp will cost more and take longer to produce. The AluminumPackaging.com Blog talks about balancing aesthetics with function, and that is the real challenge.
Sometimes the first design looks great on screen but does not fold right in real life.
Step 2: Material Selection
Once the design is approved, the manufacturer picks the metal. Most custom tin packaging uses steel coated with a thin layer of tin to prevent rust. The thickness of the steel depends on what the box will hold. Heavier items need thicker metal. Lighter items can use thinner sheets. It is a small decision that makes a big difference in how the box feels.
Step 3: Printing
The metal gets cut into flat sheets. Then printing begins.
- Each colour is applied one layer at a time
- Every layer is baked in an oven before the next one goes on
- The finish is glossy and scratch-resistant
Sometimes the colours don’t align perfectly. You might see a tiny gap between two shades. It is not ideal, but it gives each box a handmade feel.
Step 4: Cutting and Forming
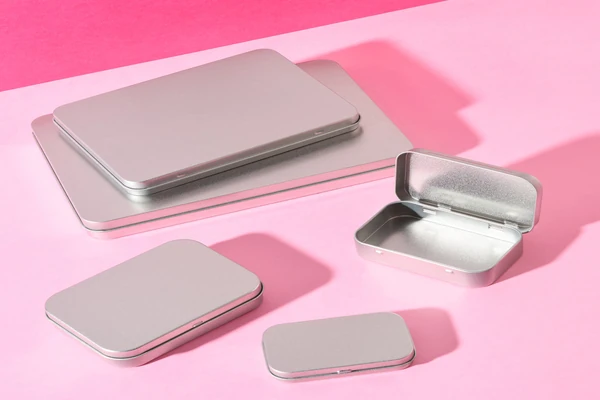
The printed sheets go into stamping machines. These machines cut and fold the metal into box shapes. Corners are bent. Edges are curled. Seams are welded or crimped together.
If the stamping die is slightly worn, the lid might not fit snugly. That means the whole batch gets reworked. Nobody likes that, but quality matters.
Step 5: Assembly and Inspection
The separate pieces come together here. Hinges get attached. Lids get fitted to bodies. Workers check each box for sharp edges, crooked seams, or scratches.
A box that passes feels smooth and closes with a satisfying click. A box that does not gets sent back. It is slow work, but it is necessary.
Step 6: Packaging and Delivery
Finally, the boxes get packed for shipping. Some are wrapped in plastic. Others go into cartons with dividers to prevent scratches. A well-made tin box can last for years. That is why every step, from the first sketch to the final inspection, matters. And that is how a flat sheet of metal becomes a custom tin box. From design to delivery, every step matters.
The printing, the stamping, the quality checks. It is slow work, but it is worth it. A well-made box lasts for years. And that satisfying snap of the lid is the sound of everything going right.
